Here’s a more engaging and motivational rewrite of your passage while keeping its honest, no-nonsense tone:
Let’s be real—this is the least glamorous part of learning manual mode.
Nobody wants to hear that mastery takes practice—lots of it. We live in a world of instant gratification. We want to skim a tutorial today and shoot like a pro tomorrow.
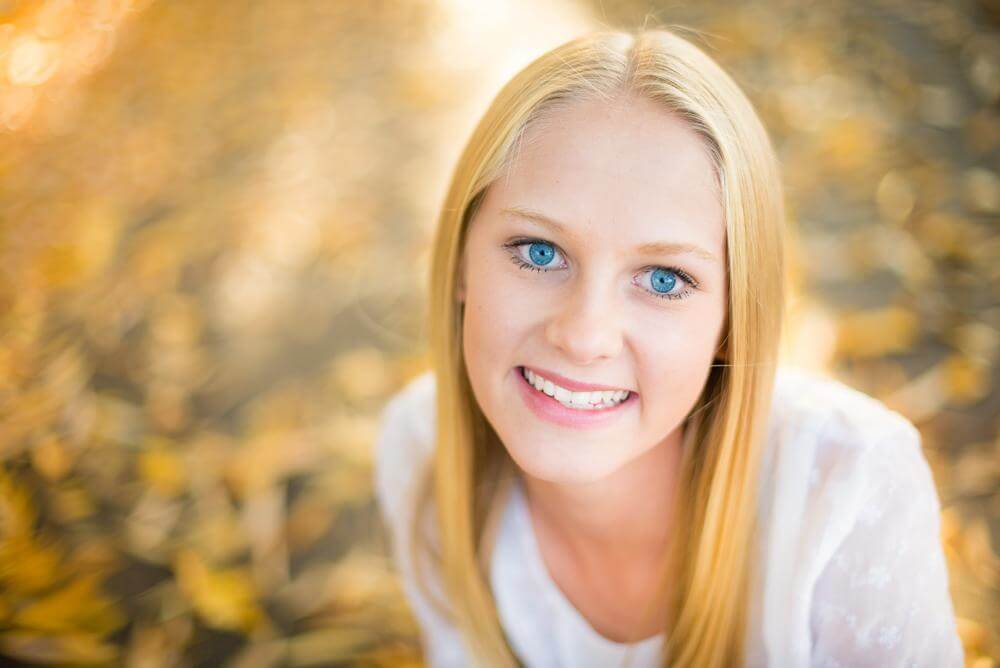
1. The Outdoor Portrait Photo
When taking outdoor portrait photos, the most essential settings are the aperture and ISO. Personally, I want my aperture to be wide-open, so I get a nicely blurred background. I also want the ISO as low as possible to avoid as much noise as possible. Once the aperture and ISO are set, you can then adjust the shutter speed to compensate for the other two settings to achieve a nicely exposed photo.
For the photo below, I chose an aperture of f/1.8 and an ISO of 100. I moved my shutter speed to 1/320 to get the perfect exposure. (I shot this with my 50mm f/1.4)

Remember that even if you’re shooting in the exact same outdoor light, you might want to choose entirely different settings.
For example, Let’s say you are photographing small children. In this case, you should first set your aperture and shutter speed (keeping the shutter speed no lower than 1/250) and then adjust the ISO to compensate for the other two settings to achieve a good exposure. And If you have set your ISO to 100 and still have too much light coming in, bump up your shutter speed until it is balanced.
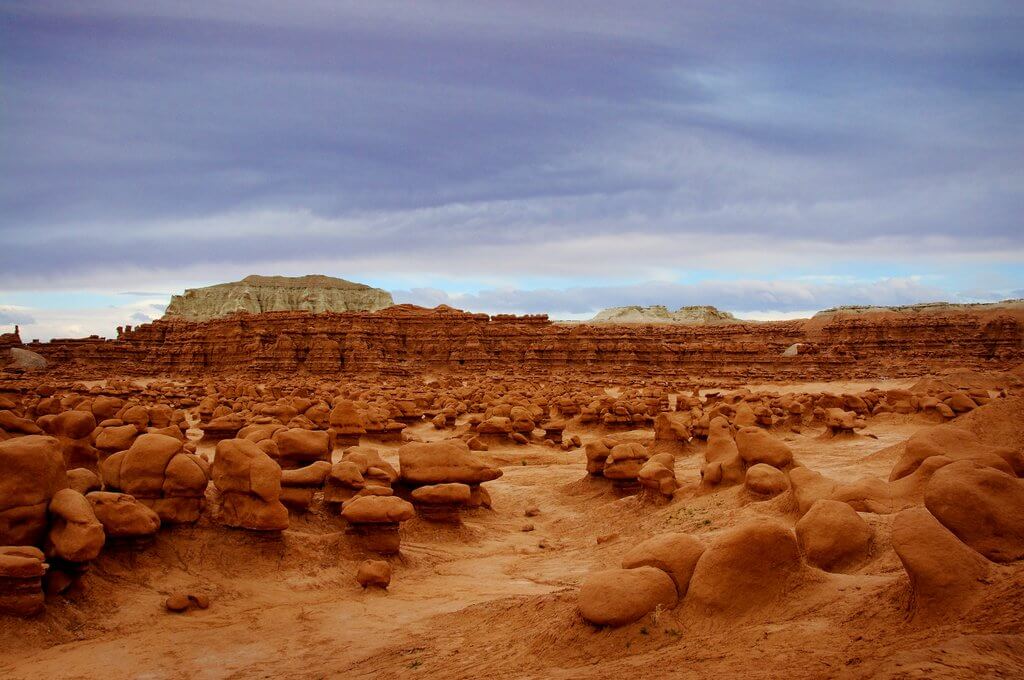
2. The Landscape Photo
For a landscape photo, the most important settings will be your aperture and ISO. First, you will want to choose an aperture that will allow you to have EVERYTHING in your scene in focus. Smaller apertures (higher numbered f-stops) will give you the most field depth, so everything is in focus. You would also want to set your ISO as low as possible to allow for the least amount of noise.
For the landscape photo below, I set my aperture at f/9 and my ISO at 500. My shutter speed was 1/500th of a second. It was taken right as the sun had set on a very windy evening while I was hand-holding the camera. Looking back, I could have closed my aperture a bit more, lowered my ISO a little, and still produced a great image.
3. The Indoor Portrait Photo
The most significant difference between an indoor portrait and an outdoor portrait is the amount of light you will have, which, as you can imagine, will be less.
For an indoor portrait, the most essential settings will be the aperture and shutter speed. I set my aperture as low as I am comfortable (I have practiced a lot and regularly shoot at f/1.4 — but you may not want to start that wide open your first time). Then, I set my shutter speed to a reasonable number to get a sharp photo and raise my ISO as high as needed to compensate for the other two settings.
When raising ISO, you should know that your photos will likely have more grain. However, a well-exposed photo will show less grain than an underexposed photo you then have to brighten during post-processing.
In the photo below, I set my aperture to f/2.8 and my shutter speed to 1/125 and then raised my ISO to 2000 – a common occurrence when photographing indoors.