Here’s a refined version of your passage with enhanced clarity and engagement, while maintaining its educational tone:
Mastering Exposure: How to Combine Your Skills for Perfect Photos
Today, we’ll bring together everything you’ve learned to help you capture better-exposed, more professional photos.
At the heart of great photography is balancing light. Your sensor needs just the right amount of light to achieve an ideal exposure
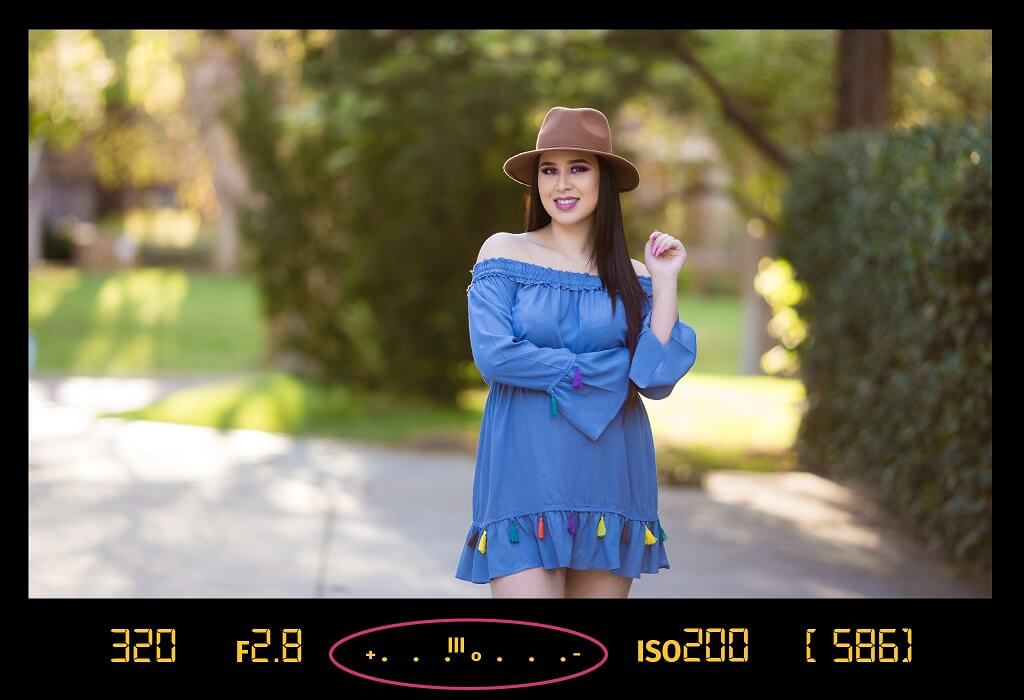
Make sure you use your in-camera light meter to help get an ideal exposure. Your light meter will look something like what’s shown in the photo below and will tell you if your aperture, shutter speed, or ISO is out of balance.

How to Achieve Perfect Exposure
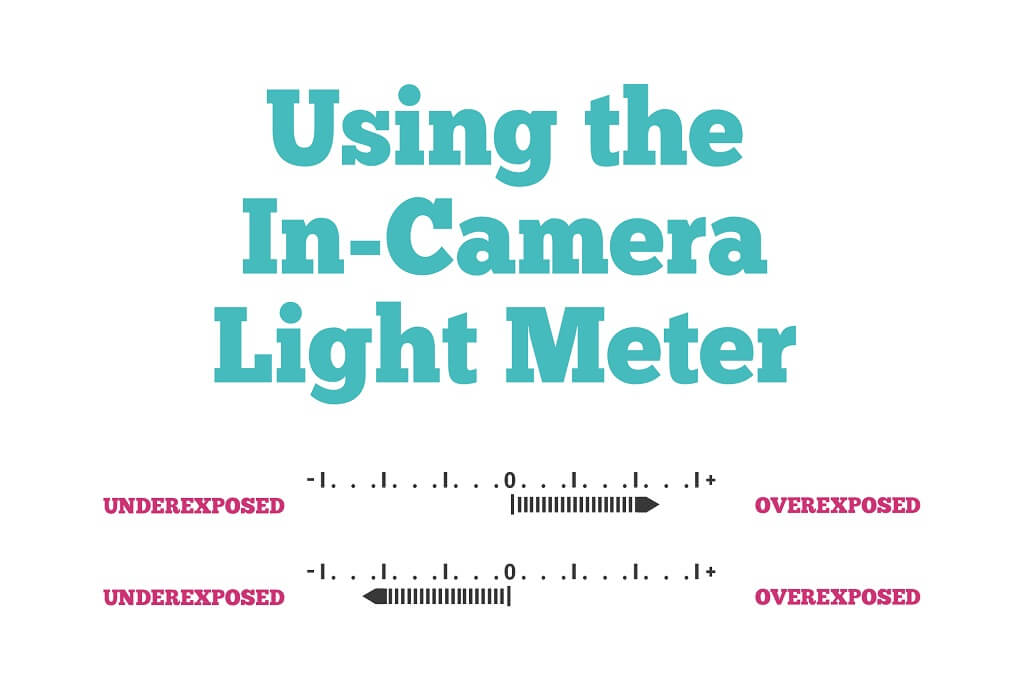
To get good exposure, the goal will be to get your light meter BALANCED IN THE CENTER.
- Your photo will be OVEREXPOSED if the light meter moves toward the plus sign. To move it back towards the middle, you need to decrease the amount of light coming into the camera by either closing down the aperture, increasing the shutter speed, lowering the ISO, or some combination of the three. You can choose any of those methods to let in LESS LIGHT, depending on the vision you have for your photo.
- Your photo will be UNDEREXPOSED if the light meter moves toward the minus sign. To move it back towards the middle, you need to increase the amount of light coming into the camera by either opening up the aperture, decreasing the shutter speed, increasing the ISO, or some combination of the three. Any of these methods will work. You just need to choose the one that works best for your photo.

Real-World Exposure Example
Let’s say you are outside taking photos of your children and want the background nicely blurred (shallow depth of field), so you open your aperture to f/3.5.
The last time you took pictures, your shutter speed was set at 1/60th of a second. As you look at the light meter in your camera’s viewfinder, several lines are moving toward the plus sign. This should tell you that you have too much light coming into the camera.
To keep this in balance, you must decrease the time your shutter stays open. So turn and increase the shutter speed until the light meter becomes more balanced. In this case, the shutter speed is now 1/500th of a second, and everything is balanced for your shot.
You could have also taken your photo with an aperture of f/10 and a shutter speed of 1/60 since it would have been an equivalent exposure. You would have had the same nicely exposed image. However, the photo you would end up with would be much different – primarily, the background would not have been as blurred as you may have wanted.


Exposure Tips to Remember:
- Your light meter is NOT perfect. The great thing about digital cameras is that you can see what your photo looks like immediately. As you are learning, use that feedback to make adjustments.
- Get to know your camera and how it exposes. You may notice that your DSLR consistently underexposes. If this is the case, you can make adjustments by just always knowing that your camera is in balance when the light meter in your camera shows 1 or 2 lines toward the plus sign.